MinUI (Miyoo Mini Plus)
MinUI (Miyoo Mini Plus)
This guide is made for the Miyoo Mini Plus, but it can be applied to almost all handhelds supported by MinUI. Usually, the tools and apps are device-specific, meaning you will need different versions for each handheld. You can often find the correct versions for your device through a quick Google search.
Guidelines
- Everything is tested on the Miyoo Mini Plus V1 and V2
- I love MinUI for its simplicity. Everything used in this guide follows that principle.
- Make sure you use a good brand SD card, not the stock one. These are known for failing.
- For some steps you need to put your device on a charger. You need to use a 5V charger, not a laptop or other charger (always recommended for the Miyoo Mini Plus).
- If you need to change your SD card from your PC to your device, always remove it safely.
Files
All needed firmware, files and tools are shared on our GitHub page.
Disclaimer: I won’t share any of the BIOS and ROM files. Make sure you own the systems and games before using them on your handheld.
1. Prepare your SD card
- Put your SD card in your PC
- Use FAT32 format tool (see files) to format the SD card
- Wait for it to complete
2. Update your devices to the latest firmware
First we need to update your firmware to the latest version. If you already have the latest version you can skip this step.
- Place the .img from the Firmware folder onto the root of the SD card
- Remove the SD card from your PC and put it in your device
- Connect your device to a charger, it should turn on by itself.
- Wait for the update to complete (the rocket screen will disappear and the device will start to charge again)
Note: The update won’t start if you turn on the device yourself. It also is very picky for the way you format it, so always use the format tool from step 1.
3. Install MinUI
- Put the SD card in your PC again
- Remove the files from the previous steps from the SD card
- Place all files from the MinUI folder in the root of the SD card
- Note: This are the base + extra files from the original MinUI release
- Remove the SD card from your PC and put it in your device
- Turn your device on
- Wait for MinUI to finish the installation
Your device will start with MinUI, but you only see the Tools folder.
- Open the Tools folder
- Select the Remove Loading.pak
- Wait for it to complete, this can take up to 5 minutes
4. Copy your files
Now it’s time to copy all files to your SD card, so we need to change SD card one last time
- Remove the SD card from your device and put in your PC
- Copy the BIOS, ROMs and Saves of your choice to the correct system folder in the corresponding folder on your SD card
And here comes the personalization part of the guide, for ease of use i will split this up in sections as well. After that, we will check all needed settings.
Personal tip: I have a lot of ROM files, but i only play a few. I like to add an “- All Games -” Folder to the system folder. I put my most played games in the main folder, and all other in the All Games folder. This way i will see only my most played games, but i can play my whole collection if i want.
If you do this, don’t forget to also add the .res boxart from step 4.1 to both folders, and if you use collections you also need to copy the correct path.
4.1 Boxart
Boxart is not described in the original documentation of MinUI, but it is possible and it looks gorgeous!
- The images must be PNG
- They must be placed in the ROMs folder, per system. Create a folder in the system folder with the name “.res”, so for example “/Roms/Game Boy (GB)/.res”
- The images must contain the extension of the ROM, so for example “Game Name.gba.png”
- The images needs to have the exact same name of the ROM, and is capital sensitive
- The max width of the image must be 250px
You can scrape al images via a tool called Skraper. I placed my thumbnails as example in the files on GitHub. You can use them, but check the names as i sorted all my ROMs for my own liking.
4.2 Collections
MinUI doesn’t have favorites, but you can use Collections. I put the collections i use in the files on GitHub, without my favorites. But you can add your own as you will.
- Collections must be in a “.txt” format
- You need to add them as a path, without the drive letter.
- Also, you need to change the \ to /
- An example would be: “/Roms/Game Boy Advance (GBA)/Game Name.gba”
You can even make a folder within the collections folder, for example “Top 10 Games” or “Pokemon”.
Tip: In Windows you can copy the path from a file by selecting the file and press Shift + Control + C.
4.3 Boot Logo
You can change the boot logo of the device very easily. For now, just place the logotweak.pak from the PAKs folder in the /Tools/Miyoomini/ folder.
After you copied all files and put your SD card back in the device, you can open the Tools folder and select logotweak. Here you can select a logo you like, and click A to change it. The app will do it for you.
I also added Custom Logo’s in the files. I made them myself and are matching colors with the Miyoo Mini Plus devices. You can add them to the logotweak.pak folder if you like them.
4.4 Enable RTC (V2 and higher only)
This one is simple, if you have a V2 and want to use RTC, just copy the file from the Enable RTC folder to your “.userdata/miyoomini” folder.
At step 5 you will setup the time. If the devices has this RTC file, and you setup the time it will automatically save the time. It will only reset if your battery is empty or you disconnect the battery.
This will also not work for the Miyoo Mini Plus V1, this one doesn’t have an RTC chip. You can recognize the V1 on its mainboard, and is easily spotted if you have a transparent device. The gold part between the L and R buttons is rectangular on the V2/3 and 4, and diagonal on the V1.
4.5 Nintendo DS
Not as good a the standard emulators in MinUI, and performance is not top-notch, but very playable. Just copy the NDS.pak to the “/emus/miyoomini” folder and create a folder in the Roms with the name /Nintendo DS (NDS)/
4.6 Screenshot Deamon
Copy the files from the PAKs to “/tools/miyoomini” folder and open the app, now you can take screenshots!
4.7 Syncthing & Wifi
Copy the files from the PAKs to “/tools/miyoomini” folder. Now you can open Wifi after you startup the device. Within Wifi you can setup your wifi network. After you set this up you can use the Syncthing app to setup your own syncthing server!
After all that you can put the SD card in the device and get ready for the final step!
5. Settings
Lastly, we need to adjust some settings, so turn your device on!
- Go to Tools and select Clock, adjust the time here and select 24 or 12 hours with select.
- And then, we need to do all settings for each console (yes, we need to do it per console).
- Select one game for each system
- After you start the game press the menu button
- I like to have all my games full screen, so do that within “Frontend” and set “Screen Scaling” to “Full Screen”
- Sometimes i want to play with Fast Forward, but only when i press a button. I use the R2 button for that. Select “Shortcuts” and go to the bottom of the list. Select “Hold FF” and set it to R2 by pressing the R2 button.
- For GBC and GBA: Select “Emulator” and enable “Color Correction”
- After you adjusted all settings go to “Save Settings” and select “Save for Console”
You have completed the setup of your Miyoo Mini Plus with MinUI! Happy Gaming 😀!
Bonus: Modifications!
Ok so your Miyoo Mini Plus is working perfectly, but i want to share some really cool modifications for the device with you.
- Buttons: I love to customize my device. I had a white V1 and now a purple V2. But i didn’t like the purple accent of the buttons, so i ordered black ones from AliExpress. It fits the device really well.
- Speaker: You can upgrade your speaker very easily. I ordered mine from AliExpress. It uses the same speaker as the Sony Xperia Z5 compact. Just open the device and remove the mainboard. The speaker sits on the front of the device but can be torn off with some wobbling.
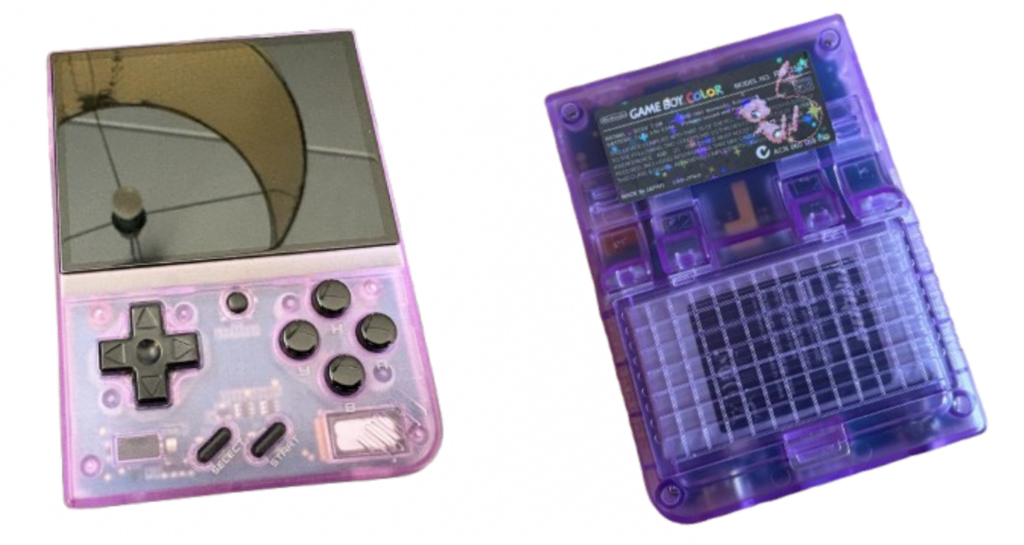
- Sticker: I ordered 2 labels for the back of the device from Etsy and i’m really happy with the result. Personally i use the black holographic Mew version, but i installed purple Gengar on another device. Both are from the same seller.
None of these are sponsored, and the links will work as long as they work, but i hope you like them!
Support my work?
If you like this guide and want to support my work, you can use the link below to buy me a coffee. Every bit of support is appreciated and helps me continue creating new content.
